Persistent Volumes (PVs) and Persistent Volume Claims (PVCs) are the underpinnings of Kubernetes persistent storage, especially with respect to the growing collection of stateful workloads being containerized and deployed with Kubernetes. If you felt a bit lost the first time you investigated Kubernetes storage in general, and this topic in particular, then you are not alone. I can remember thinking, “Oh no, another Kubernetes rabbit hole.” I soon found that the best way to deal with this complexity was to break it down into manageable pieces and practice the steps repeatedly.
This article will cover the basics steps involved in leveraging PVs with PVCs in order to provision permanent storage for pods.
Specific tasks we will accomplish:
- Demonstrate a pod with no persistent storage
- Create a PV
- Create a PVC
- Create a pod that will leverage our PVC for persistent storage
- Delete the pod
- Recreate the pod demonstrating that we are using the same storage as before
For this demonstration, we will use Minikube (https://minikube.sigs.k8s.io/docs/start/), but you are free to use any Kubernetes environment that you have handy.
Follow these steps in sequence:
We create a simple nginx pod by running:
kubectl run nginx --image=nginx
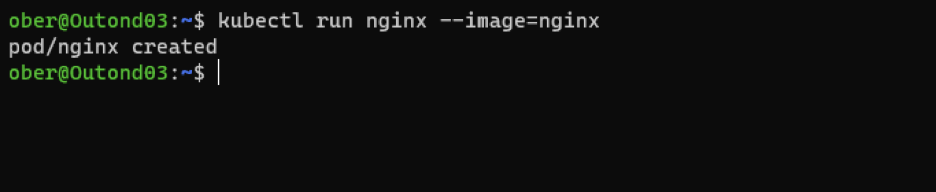
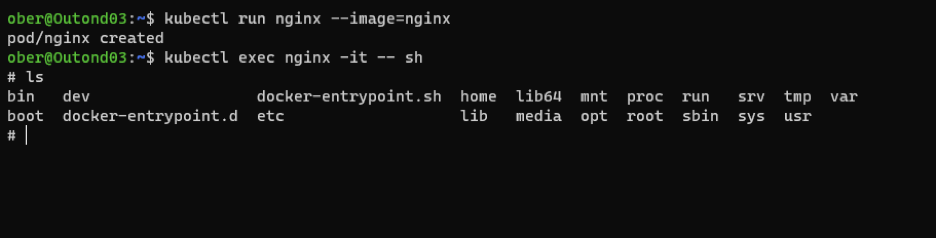
This pod has one container and no permanent storage. We execute into the container itself and view its file system by typing:
kubectl exec nginx -it -- sh
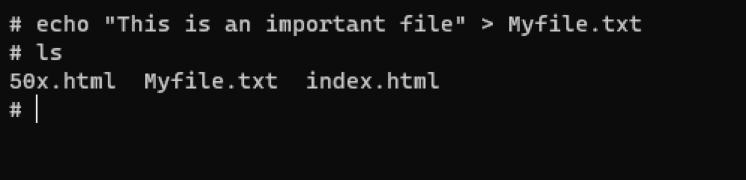
We create a file in /usr/share/nginx/html (this is the folder in which the nginx web server normally keeps it index.html file):

We will now delete the pod and recreate it:

We recreate the pod using the same configuration as before.
As you can see, when we execute into the container, the Myfile.txt that we created is no longer present:

How can we make sure that the file does not disappear after a pod restart? You will not want to recreate your website or database every time you delete a pod!
The way to solve this problem is to leverage PVs. They are called persistent because they persist even if the pods are deleted, restarted or recreated.
To do this we will get some help with the official Kubernetes documentation. To create the persistent volume, we will use a declaration file in the yaml language (yet another markup language).
Don’t worry, you don’t need to be a programmer, and in most cases, you can simply copy examples and make slight changes, if needed, from the examples on the website.
https://kubernetes.io/search/?q=persistant%20volumes
A good tip for anyone taking the Linux Foundation Kubernetes exams is to find your yaml examples in the “Tasks” sections of the official Kubernetes documentation. (Note: You are allowed to use Kubernetes documentation for the CKA, CKAD and CKS exams.)
Make use of the “Configure a Pod to Use a PV for Storage” Task.
https://kubernetes.io/docs/tasks/configure-pod-container/configure-persistent-volume-storage/
We first need to create a persistent volume. We can copy the example in the task:
apiVersion: v1
kind: PersistentVolume
metadata:
 name: task-pv-volume
 labels:
  type: local
spec:
 storageClassName: manual
 capacity:
  storage: 10Gi
 accessModes:
  - ReadWriteOnce
 hostPath:
  path: "/mnt/data"
We then save the file as pv.yaml and create our PV by typing:
kubectl create -f pv.yaml

We now have a PV, but how do we get a pod to use it?
For this, we will leverage a PVC.
A PVC will bind to a persistent volume if it matches the AccessMode and storageClassName that we defined in the file. In our specific case, the Access Mode is Read Write Once and the storageClassName is manual.
Back on that same task page in the Kubernetes documentation, we can make use of their example:
apiVersion: v1
kind: PersistentVolumeClaim
metadata:
 name: task-pv-claim
spec:
 storageClassName: manual
 accessModes:
  - ReadWriteOnce
 resources:
  requests:
   storage: 3Gi
Save this file as pvc.yaml and create it with:
kubectl create -f pvc.yaml

We now have both a persistent Volume and a PVC:

But how do we leverage them in a pod? We can’t simply type “kubectl run nginx –image=nginx,” as the pod will not know anything about the underlying storage.
For this, we will need to use another yaml file to create our pod.
We will copy the task pod definition file in the Kubernetes documentation task, since it already has the proper declaration:
apiVersion: v1
kind: Pod
metadata:
 name: task-pv-pod
spec:
 volumes:
  - name: task-pv-storage
   persistentVolumeClaim:
    claimName: task-pv-claim
 containers:
  - name: task-pv-container
   image: nginx
   ports:
    - containerPort: 80
     name: "http-server"
   volumeMounts:
    - mountPath: "/usr/share/nginx/html"
     name: task-pv-storage
In the pod declaration yaml file above, note the “volume” section under “spec.” We are instructing the pod to use the PVC that we created earlier.
In the “container” section of the declaration, with the use of “volumeMounts,” we are telling the pod to mount that storage under “/usr/share/nginx/html.”
Save that file as pod.yaml and create the pod:
kubectl create -f pod.yaml

Once again, create a file, as we did in the first example.
This time our pod is called task-pv-pod, since we copied it from the Kubernetes documentation site. To get a shell inside the pod we type:
kubectl exec task-pv-pod -it -- sh
and then our echo command after changing director (cd) to “/usr/share/nginx/html” to create a file:
echo “This is an important file” > Myfile.txt
We will delete the pod, then recreate it again with the same yaml file:
kubectl delete pod task-pv-pod
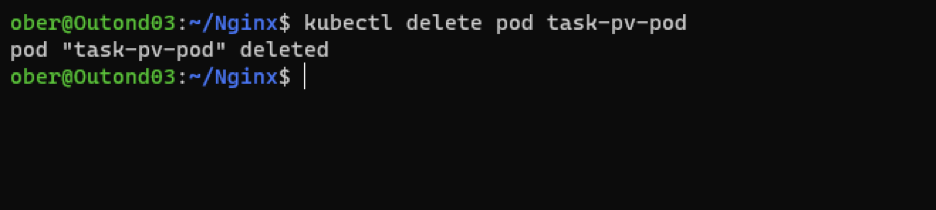
The pod is gone, and the container inside of it is as well.
Now recreate the pod using the same yaml file and check the location to see if my important file is still there:
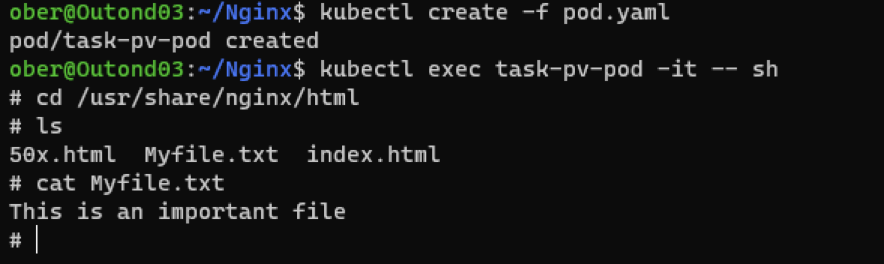
There it is! That same Myfile.txt that we created before deleting the pod. Our pod is using persistent storage.
You might think “I thought Kubernetes was deemed as being streamlined and geared towards automation? Does this mean that every time I want to create storage for my pods, I have to do all of this manual building?” The answer is no. That function is covered by Dynamic Provisioning in Kubernetes with StorageClasses!
It’s important to remember that persistent storage in Kubernetes is not backed up automatically. This is where Kasten K10 by Veeam, the #1 Kubernetes backup solution, comes in. Kubernetes faces many if not all the same threats as legacy workloads, so following data protection best practices is a must.
It’s important to go over the steps in the blog multiple times in order to fully memorize the basics before moving on to more complicated topics related to Kubernetes storage.
As always, keep learning Kubernetes. It’s a journey well worth pursuing!